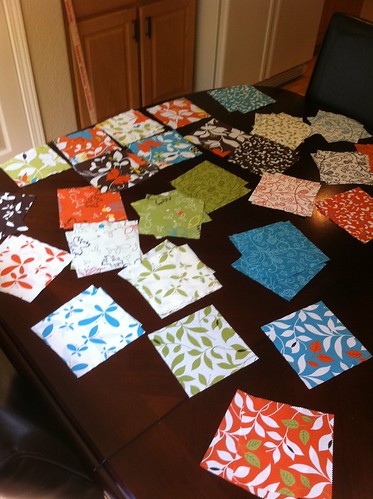
The first thing we did was order two Charm Packs. Basically a Charm Pack is a set of 5x5 squares from a fabric manufacturer. The patterns on the fabrics are all from one line and coordinate. Doing our shopping that way meant that we didn't have to worry about figuring out scale etc. We decided to use the Chrysalis line because I liked the orange and blue. We purchased them from Crazy Quilt Girl.

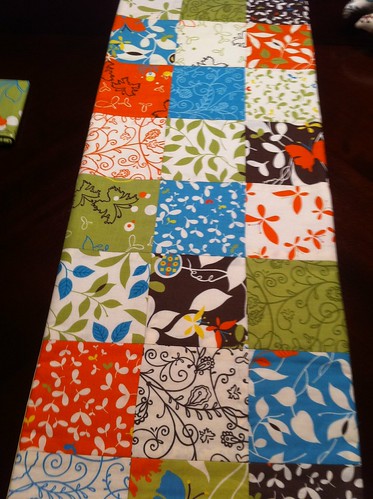
The first step was to lay out the squares. Normally I buy runners and table clothes that are 72" long, so we decided to do a runner that was 3 squares wide and 15 squares long. We sorted the squares based on the size of the pattern (small, medium, large.)
Then we laid out the rows.
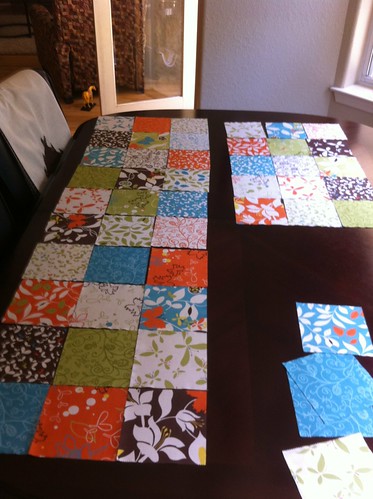
Then we left it there for 24 hours to make sure we still liked how it looked. :)
Our next step was to sew all the rows together and press those seams. Once the rows were assembled we could sew one row to the next.

We made sure to number the rows so we kept everything in order. At this point we realized that we hadn't accounted for seams (1/4" per square, per seam) so we added two more rows to each end.
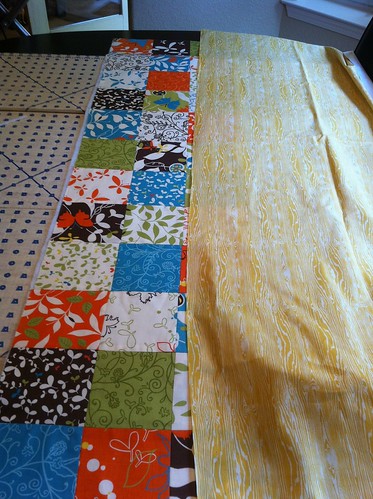
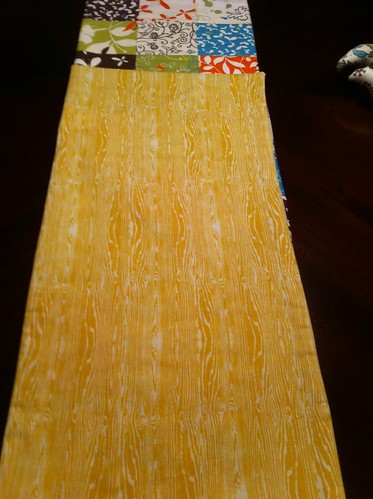
Then we took the top to the fabric store to pick a fill and a backing fabric. We used a local store, Hip Stitch, in Albuquerque and got great help. We picked a Joel Dewberry fabric that I think pulls out some of the yellow accents from the Moda patterns.
We then ironed on the batting.
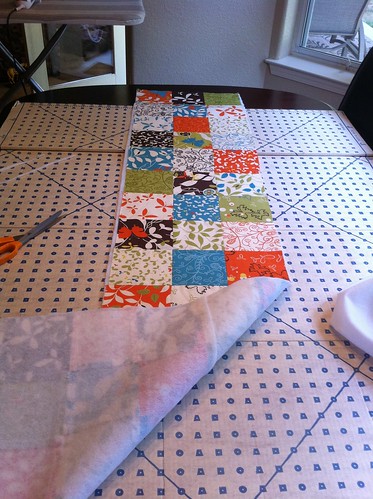
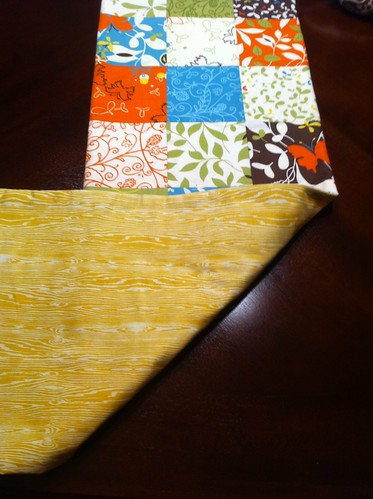
Then we sewed the backing to the top.
And there you have it!
I opted not to do the actual quilting stitches because I thought they would take away from the patterns. I do know how to do it though. Overall it was an awesome experience, and I am so excited to have someTHING to show for my hard work. (It's way more satisfying that cleaning out closets. HA!) So, if you want to try quilting, I would highly recommend the tutorial. It was easy to follow, and I had a great time.
That turned out great! If you still wanted a quilted effect you could try to "stitch in the ditch" and that might only detract from the pattern on the back. (That may or may not have been an excuse to whip out my very limited quilting terminology/knowledge) :)
ReplyDelete